
Understanding hockey referee signals is paramount for players, coaches, and fans alike; readily available PDF guides enhance comprehension of these vital on-ice communications.
What are Hockey Referee Signals?
Hockey referee signals are a standardized system of hand gestures used by on-ice officials to communicate decisions to players, coaches, and spectators during a game.
These signals aren’t arbitrary; they’re a crucial component of the sport’s rules enforcement, ensuring clarity and minimizing confusion amidst the fast-paced action.
A comprehensive PDF resource detailing these signals is invaluable for anyone involved in hockey. These documents typically illustrate each signal with clear diagrams and concise explanations of the corresponding rule infraction.
Signals cover a wide range of infractions, from common penalties like tripping and hooking to more complex situations like offsides and icing. They also indicate goals, face-off locations, and various procedural calls.
Mastering these signals, often aided by a readily accessible PDF guide, allows for a deeper understanding and appreciation of the game’s intricacies.
Why are Signals Important?
Hockey referee signals are fundamentally important for maintaining fair play and ensuring all participants understand the calls being made during a game.
The speed of hockey necessitates quick, unambiguous communication; verbal explanations can be lost in the noise, making visual signals essential.
A detailed PDF guide to these signals provides a readily available reference point for players and coaches seeking clarification on a penalty or ruling.
Signals minimize disputes by providing an immediate, visible indication of an infraction, reducing the potential for misinterpretations and arguments.
Furthermore, they contribute to the overall flow of the game, allowing play to resume quickly after a stoppage. Understanding these signals, often through a PDF resource, fosters respect for the officials and the rules of the game, enhancing the sporting experience for everyone involved.
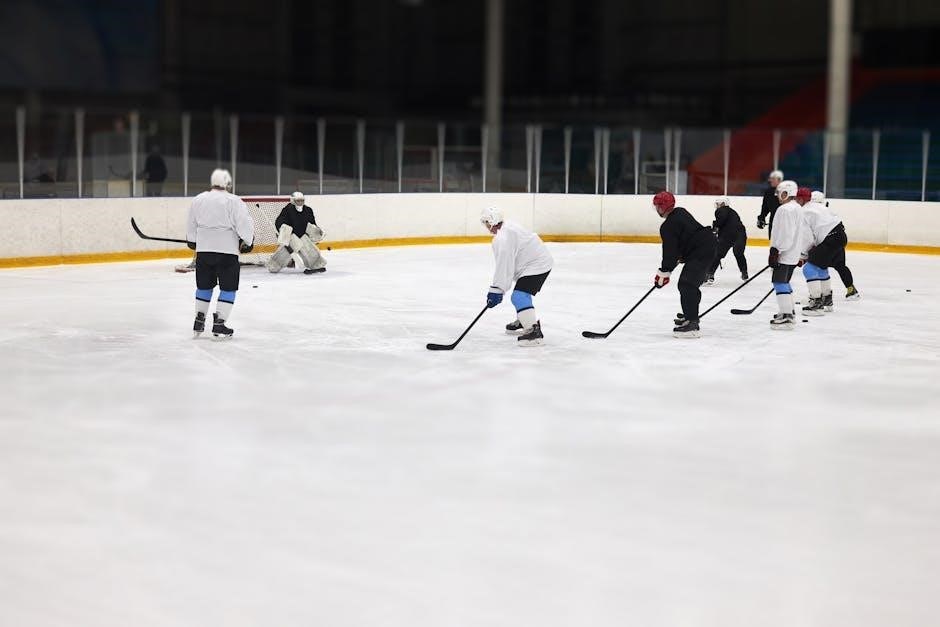
Basic On-Ice Signals
Mastering fundamental hockey referee signals, often detailed in a convenient PDF, is crucial for recognizing common infractions and understanding game management techniques.
Icing Signal
The icing signal is one of the most frequently used by hockey referees, and a clear understanding is vital. Referees signal icing by extending one arm straight forward and upward, palm facing down. Often, a PDF guide detailing signals will visually demonstrate this precise arm position. This indicates that a player shot the puck from behind their own center red line, across the opposing team’s goal line, without it being touched by another player.
However, icing is waived under specific circumstances, such as when a team is shorthanded, or if the opposing goaltender leaves their net for an extra attacker. These nuances are thoroughly explained in comprehensive referee signal resources, including downloadable PDF documents. Recognizing the signal and the exceptions prevents confusion. The signal is designed to quickly communicate this rule to players and spectators, maintaining game flow and fairness. Proper interpretation, aided by resources like a hockey referee signals PDF, is key.
Offside Signal
The offside signal is crucial for understanding game play, and referees clearly communicate it with a distinct gesture. They raise their arm, extending it straight out to the side, parallel to the ice. Many hockey referee signals PDF guides showcase this signal visually, emphasizing the horizontal arm position. This indicates that an attacking player entered the offensive zone before the puck did.
Modern offside rules include a “delayed offside” component, adding complexity. Referees may briefly pause before signaling, allowing play to continue if the attacking player doesn’t immediately gain an advantage. Detailed explanations of these nuances are readily available in official rulebooks and helpful PDF resources. A well-illustrated PDF can clarify the subtle differences between a standard offside and a delayed one. Correctly interpreting the signal, aided by a hockey referee signals PDF, is essential for players and fans alike to follow the action.
Penalty Signals ⸺ Minor Penalties
Minor penalties, typically two minutes in duration, are signaled by a referee raising one arm above their head, bending it at the elbow, and extending their forearm forward. The hand is usually closed in a fist. Hockey referee signals PDF documents often dedicate a section to these common infractions, providing clear visual examples.
Alongside the arm signal, the referee will clearly indicate the penalized player with a pointing gesture. Many PDF guides also detail how referees use their other hand to signal the penalty type – for example, a slashing motion for a slashing penalty. Understanding these accompanying gestures, as detailed in a comprehensive hockey referee signals PDF, is key. These PDF resources frequently include diagrams illustrating the complete signaling sequence for each minor penalty, ensuring clarity for both players and spectators. A readily available PDF simplifies learning these essential signals.
Tripping Signal
The tripping signal is distinctly shown by a referee sweeping one arm forward in a downward motion, mimicking the act of a leg being taken out from under someone. This signal clearly communicates the infraction to players and observers. Hockey referee signals PDF guides emphasize the importance of a forceful, deliberate sweep to avoid ambiguity.
Often, the referee will simultaneously point to the offending player to ensure proper identification. Detailed PDF resources will showcase images of the signal from multiple angles, aiding in accurate recognition. These PDF documents also explain that the severity of the trip doesn’t change the signal itself, but influences the penalty called. A well-illustrated hockey referee signals PDF will demonstrate how this signal is consistently applied, regardless of the trip’s impact. Mastering this signal, as presented in a PDF, is crucial for understanding game calls.
Hooking Signal
The hooking signal is executed by the referee bending their arm at the elbow and rotating their hand, as if physically wielding a hockey stick and “hooking” an opponent. This visual representation immediately conveys the penalty. Hockey referee signals PDF guides frequently highlight the importance of a clear, exaggerated motion for maximum visibility.
Referees often accompany the hooking signal with a direct point towards the player committing the infraction, ensuring no confusion. Comprehensive PDF resources will include diagrams illustrating the correct arm positioning and hand rotation. These PDF documents also clarify that the hooking signal remains consistent, irrespective of where the hook occurred on the ice. A detailed hockey referee signals PDF will demonstrate how the signal is universally understood. Studying these PDF materials is essential for players and fans to accurately interpret on-ice decisions and understand the rulebook’s application.
Interference Signal
The interference signal is displayed by the referee extending both arms straight out in front of their body, with palms facing each other, mimicking a player attempting to impede another’s progress. Hockey referee signals PDF guides emphasize the signal’s clarity, as interference can be a subjective call.
Often, the referee will direct their gaze and the signal towards the player making the illegal contact, solidifying the penalty’s target. Detailed PDF resources showcase the proper arm extension and hand positioning for optimal visibility. These PDF documents also explain that the interference signal applies whether the player attempting interference has the puck or not. A thorough hockey referee signals PDF will illustrate variations, such as interference on a goalie. Consistent study of these PDF materials is crucial for players and spectators to grasp the nuances of this penalty and appreciate the referee’s judgment during fast-paced gameplay.
Major & Misconduct Penalties
Severe infractions necessitate distinct signals; comprehensive hockey referee signals PDF resources detail these, clarifying major versus misconduct penalties for all involved parties.
Fighting Signal
The fighting signal is arguably one of the most recognizable, yet thankfully infrequent, signals a hockey referee will make. It’s crucial for clarity, as a fight results in immediate game stoppages and significant penalties. The referee will extend both arms fully, with hands open and palms facing forward, mimicking the act of separating combatants.
This signal isn’t just for the benefit of players; it’s also vital for the timekeepers, penalty box officials, and arena staff to initiate the appropriate procedures. Detailed hockey referee signals PDF guides often include diagrams and explanations of the escalation process following a fight, including the identification of involved players and the application of game misconducts and potential suspensions.
Understanding the signal helps fans recognize the severity of the situation and appreciate the referee’s role in maintaining control. The PDF resources emphasize that this signal is followed by a thorough review, potentially involving video replay, to ensure accurate penalty assessments.
Game Misconduct Signal
A game misconduct penalty is a severe infraction, and the referee’s signal clearly communicates this to all involved. The referee will extend one arm straight out, rotating the hand in a circular motion. This distinct signal indicates the player is ejected from the game and must leave the bench area immediately.
Unlike a minor or major penalty, a game misconduct doesn’t necessarily involve a specific penalty time served during the game, but it often carries a subsequent suspension. Hockey referee signals PDF documents detail the specific rules surrounding game misconducts, including the reporting procedures required by the league.
These PDF guides also clarify that a game misconduct can be assessed for a variety of offenses, ranging from deliberate attempts to injure to abusive language towards officials. Recognizing this signal allows players and coaches to understand the gravity of the situation and the potential consequences; The signal’s clarity is paramount for maintaining order and safety.
Goal & Face-off Signals
Referees utilize sweeping arm motions for goals and distinct hand placements for face-offs; PDF resources visually demonstrate these crucial signals for clarity.
Goal Signal
The goal signal is one of the most recognizable in all of sports, and thankfully, quite straightforward. A referee indicates a good goal with a sweeping, circular arm motion, typically above their head. This isn’t a small gesture; it’s broad and definitive, leaving no doubt in the minds of players, coaches, and spectators.
Often, the referee will simultaneously point towards the goal that was scored on, further clarifying which net the puck entered. You’ll frequently see this accompanied by a verbal confirmation – a clear “Goal!” shouted to ensure everyone understands.
For those studying referee signals, many PDF guides dedicate a section to this signal, often including diagrams illustrating the correct arm movement. These guides emphasize the importance of the circular motion, differentiating it from other signals. Understanding this signal is fundamental for anyone involved in hockey, from seasoned professionals to enthusiastic fans.

Face-off Signals ౼ Different Zones
Face-off signals vary depending on the zone where the face-off will occur – neutral zone, offensive zone, or defensive zone. Referees use distinct hand placements to communicate these locations to the centers. For the neutral zone, the referee typically holds both arms extended forward, palms down.
In the offensive zone, one arm is extended forward, while the other is bent at the elbow, forming a right angle. The defensive zone signal involves a similar arm position, but the bent arm is on the opposite side. These subtle differences are crucial for players to understand their positioning responsibilities.
Comprehensive PDF guides on hockey referee signals dedicate significant space to these zone-specific signals, often including detailed illustrations. Mastering these signals is vital for players to avoid penalties and gain a competitive edge. Accurate interpretation ensures fair play and a smooth game flow.
Less Common, But Crucial Signals
While less frequent, signals for actions like delayed penalties and high-sticking are essential; a detailed PDF resource clarifies these nuanced, yet important, referee gestures.
Delayed Penalty Signal
The delayed penalty signal is one of the more complex signals for fans to understand, often causing confusion. When a penalty occurs, but the non-offending team gains possession, the referee will raise their arm, signaling a delayed penalty. Play continues until the non-offending team loses possession.
Crucially, the referee maintains the raised arm throughout this period, clearly indicating to all players and spectators that a penalty is pending. A PDF guide detailing hockey referee signals will visually demonstrate the arm extended straight upwards, often with the hand closed in a fist. This signal doesn’t stop play immediately; it allows continued action, potentially benefiting the non-offending team if they can score.
However, if the non-offending team loses possession, or the puck is shot out of the zone, the referee immediately stops play and announces the penalty. Understanding this timing is vital for both players and observers. A comprehensive PDF resource will often include diagrams illustrating the sequence of events during a delayed penalty.
High-Sticking Signal
The high-sticking signal is visually distinct and crucial for player safety. Referees indicate a high-sticking penalty by raising their arm and moving their hand upwards and downwards, mimicking the motion of a stick being raised dangerously high. This signal clearly communicates that a player has contacted an opponent above the normal height of the shoulders.
A detailed PDF guide on hockey referee signals will showcase this motion, often with accompanying illustrations. The severity of the infraction dictates the penalty – minor, major, or even a match penalty – and the referee may also indicate the severity with additional hand gestures. It’s important to note that accidental contact isn’t always penalized, requiring the referee to judge intent and danger.
Furthermore, a PDF resource will clarify the rules regarding the height of the stick and the acceptable range of motion. Understanding the nuances of this signal, as presented in a visual PDF format, is essential for players to avoid penalties and maintain a safe playing environment.